So you’ve got a blog which you use to put out free content to your audience on a weekly or daily basis only to have your fingers (and toes) crossed that someone, somehow, will come in from a Google search and enjoy what you’re reading and at some stage buy what you’re selling.
Does that sound familiar?
Every marketer, social media manager and business owner has been in that position before. So I think it’s time we addressed how you can take your blog from just another tab in your menu, to a lead generating machine which actually generates you clients or prospects for your product and ultimately revenue.
For the purpose of this post, I’m going to assume you’re using the content management system ‘WordPress‘ which is by far the most popular platform for blogging and websites across the web. If you’re using something else, the same strategies will work for you but you may have to play around with the technicalities.
1. Building a Sidebar Fit For A King
The sidebar of your blog is one of the most powerful lead generation tools of your blog. It’s ability to connect with your visitors who are reading and consuming your content means you can use it in a number of different ways and get creative.
Optimizing Your Sidebar for List Building
The first thing you want to do is make sure that your sidebar is working for you and building your list. By reading this on the Clickfunnels Blog, I’m sure you’re already familiar with the saying “the money is in the list”.
So that’s exactly what we want to build up and our sidebar is a great place to start.
There’s a wealth of plugins you can use to add an optin box to your sidebar, which will help with list building. But what I’ve found, that outperforms all my other optin boxes has been a 2-step ‘Clickpop‘.
To add this to your sidebar in WordPress and make it look attractive you’ll need to get a banner designed to fit within your sidebar. This banner should be fitted to the width of the sidebar you’ve got on your blog (it will vary from site to site depending on your website’s theme) and the height can be at whatever you like (I usually stick with a rectangle shape).
To get this banner designed, you can go to somewhere like UpWork or Freelancer and hire a designer for around $30-60 (depends on who you choose) who will be able to give you a banner which looks great and upload within around 1-3 days.
Once you’ve got your banner, go to the ‘Widgets’ area of WordPress and you should see a sidebar widget where you can include some code (custom HTML) to add your banner and link it up to your ClickPop made in Clickfunnels.

Here’s an example of what it would look like below when you click your banner in the sidebar:
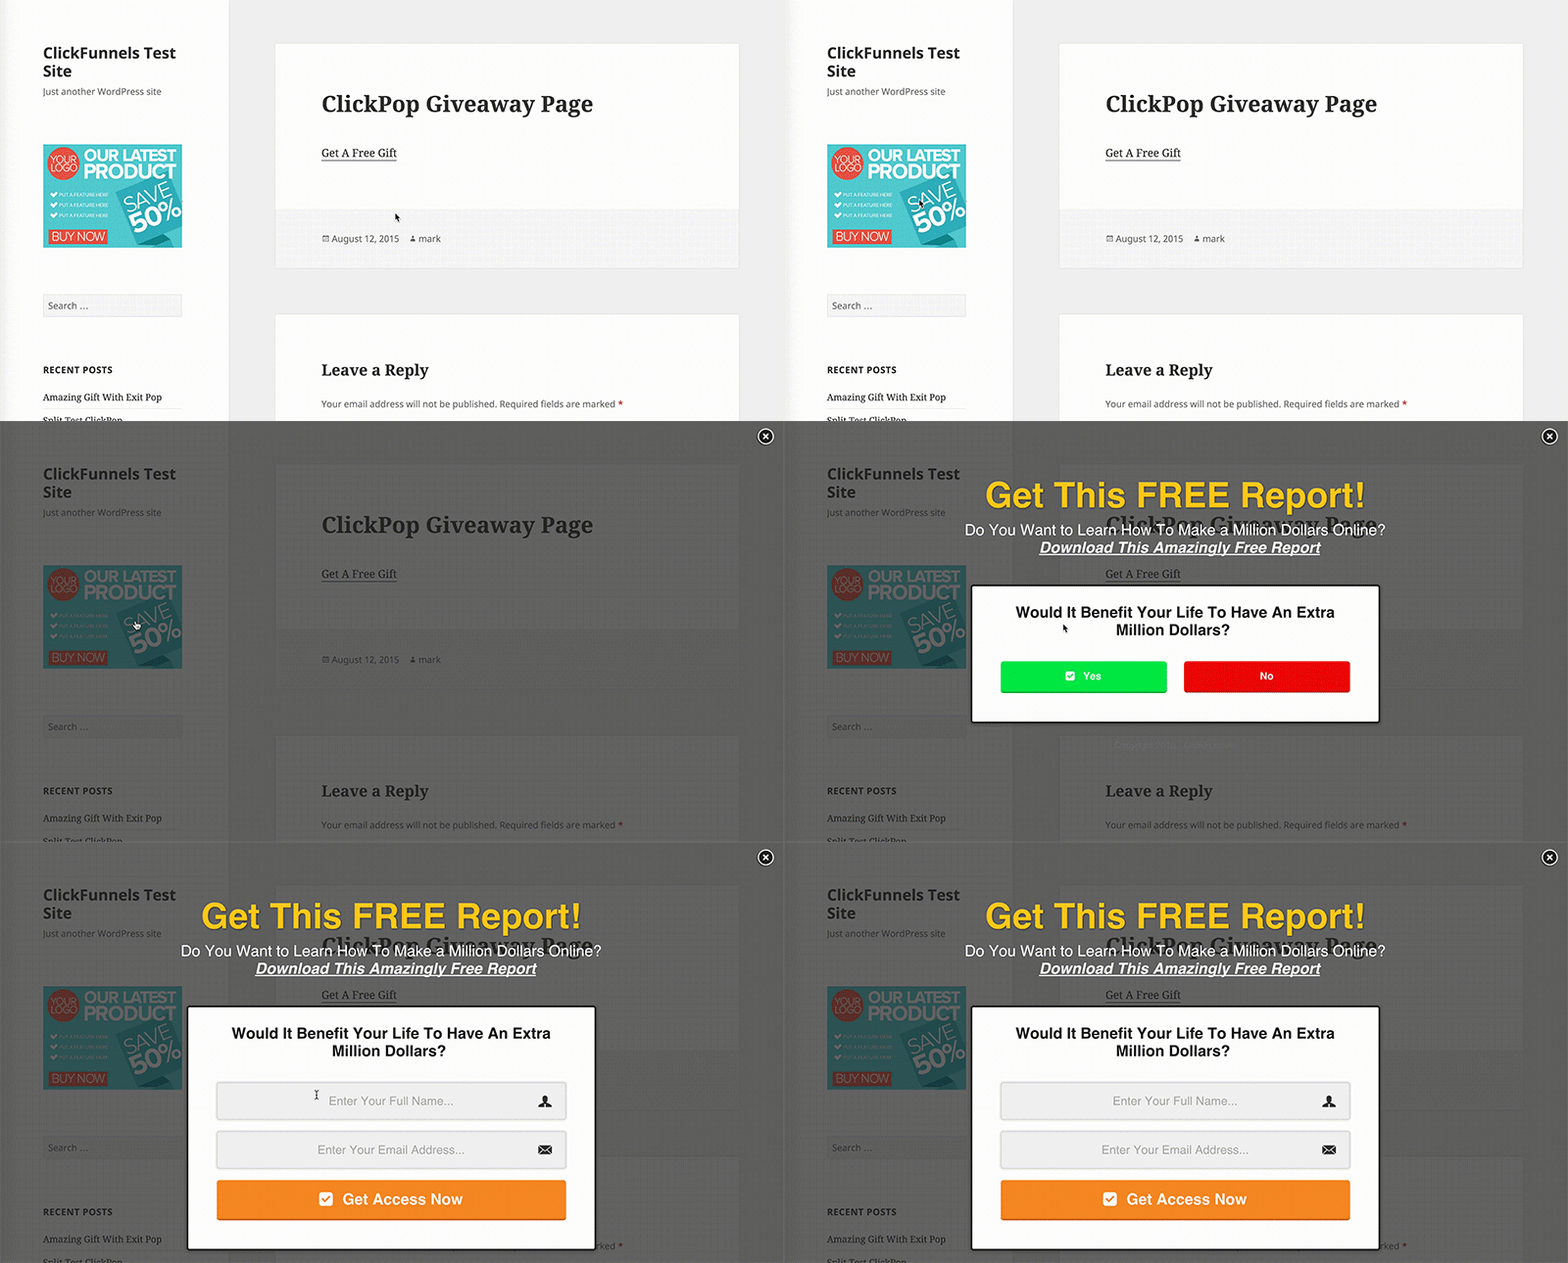
As you can see, as soon as you click this, it brings up an opt-in form.
Pretty neat huh?
Taking this one step further, we want to make sure the conversion numbers on this sidebar are as high as possible, so be sure to add a gift or ‘lead magnet’ which is absolutely irresistible to your target audience when they sign up.

This could be anything from a checklist, cheat sheet, e-book, video series, taking a quiz (giving them a result)…the list goes on – take a look at this if you’re stuck for lead magnet ideas.
ClickFunnels has a
Make The Sidebar Fixed/Sticky
Generally people read the first section of your blog post within 10 seconds then get scrolling down pretty quick to consume the rest of the value you’re giving them.
But what most people fail to realize is that as people scroll down, the area where the sidebar was sitting is now completely vacant!
It’s like an empty parking spot in the middle of the city…what a waste of prime real estate!

So to solve this issue, pick yourself up the fixed sidebar WordPress plugin and make sure you ‘sticky’ your most valuable offers so they’re following your visitors as they go down the post you’ve written. This is an easy fix to existing blogs who already have a sidebar setup and will help your conversion rate straight off the block.
Test, Test, Test…
It’s amazing how often I’ll visit the same website 6 months later and see the offers exactly the same.
Offers get worn out over time (check out the offer from Quality Golfer and how they update their pages), and more importantly if you’re using a lead magnet for your optin then you’ll want to test different lead magnet banner images/colors, different lead magnet types, different headlines and ClickPop boxes.

By making an effort at least once a month to put aside 1-2 hours and change up your sidebar, you will have a very solid high converting strategy by year’s end.
2. Dominating With Content Upgrades
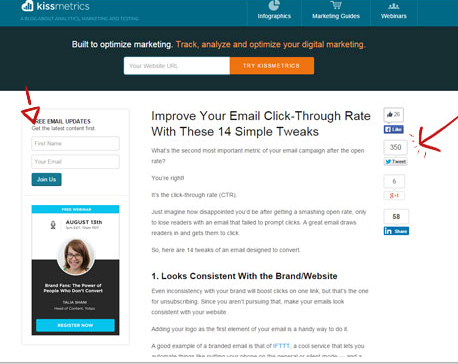
If you haven’t heard of a content upgrade before, essentially it’s an extension of your blog post which delivers additional value in exchange for an action on the website.
Generally the action is providing an email address and opting into the website’s email list, however it can also be an action like ‘sharing’ or ‘tweeting’ a specific message.
“That sounds awesome Stephen…but how do I build a content upgrade for my site?”
Well I’m glad you asked.
As we mentioned in the are about sidebars above, a content upgrade is a form of lead magnet which can provide value to your readers. The first step we need to take in designing and putting together a content upgrade is….well, creating the content.
The quickest content upgrade to create is perhaps a checklist. So for example, if I were to use a content upgrade for this post on the blog I could call it “The Blog Lead Generating Machine Checklist”.
Depending on how much time and money you’ve got available, you can turn each content upgrade into mini products. The more value you provide, the more likely people are to opt into your upgrades.
Remember, at this stage we want to create an irresistible offer that’s an absolute no brainer.
I generally like to get a front page designed for my content upgrades so I’d head over to somewhere like UpWork or Freelancer where you can hire an affordable designer. If you’re on a budget you can even use Fiverr which has lots of eBook cover designers.

Integrating your content upgrade in your post can be done three different ways.
- Custom Code: If you’re tech savvy you’ll be able to customize the CSS and make it look good when you want to add a content upgrade within your posts (personally I have no idea how all that works), but it generally looks the best as you know what you’re doing. You can hire a developer to do this for you too otherwise use one of the alternatives below.
- Using an Image: This is usually my ‘go to’. I go to one of the freelancing websites mentioned and get a banner generated which features my content upgrade and then I integrate that into the post (sometimes more than once between paragraphs). I’m a stickler for ‘clean’ images and making sure they’re designed with conversions in mind so be sure to include words like ‘Download Now’ or ‘Click Here’ so it’s clear what clicking the image will do. Canva is a great resource if you want to do this yourself and trust your design skills.
- Linking Text: Similarly to above, you can link text within your post to your content upgrade. This is the easiest option as it takes no designing or hiring. All you need to do is link up your text using WordPress so it opens either your landing page or ClickPop and you’re good to go.
Each of those alternatives work well to set up your content upgrades within your blog and will get you generating leads in no time.
Bonus Tip:
The more specific you are the higher your conversion rate will be.
If you’re creating customized upgrades on each post then people who land on that content post (whether it be directly through a paid source or organically through a search engine like Google or Bing) will be more likely to opt in and downloading the upgrade.
For example, if I ran a blog about parenting and I just wrote a post called “3 Tips to Make Sure Your Child Sleeps Easily At Night”, I’d have more success with a content upgrade like “13 Point Checklist To Get Your Child To Bed On Time” rather than a generic site wide lead magnet call “101 Parenting Tips To Help You At Home”.
Advanced:

So you want to go a little more advanced? Ok let’s do it.
One strategy you can use which I’ve tested and had some good results with is doing specific and customized retargeting based on your blog post using your content upgrades.
So after someone visits this page for example, they then go back to their newsfeed on Facebook and see my ads saying “Hey! You forgot to claim your FREE checklist on optimizing your blog for conversions!”.
Another headline which I saw the guys over at Digital Marketer use which I really liked was “Did life get in the way? Get your free conversion checklist for free now!“.

By doing this, you’re being super specific and plugging any gaps in your sales funnel. I love this strategy because you can turn your organic (free) traffic into optins using paid traffic like Facebook and Google etc.
If you used a 2-Step Clickpop for your content upgrade on your blog post, you’ll need to create a new landing page to remarket with so people don’t just end up back on your post. That way you can customize the page specifically to people who forgot to take action and claim your content upgrade.
Pretty ninja stuff am I right?
3. Adding An Exit Popup
It’s only natural at some stage people will be leaving your website to go somewhere else.
It’s sad I know.
But before people go and continue to live their lives, we’ve got an opportunity to make a last ditch challenge and guide our audience in making a decision.
It’s like our last request of someone before they leave our business.
If it was in real life, it would be kind of like a “Hey! Just before you go John, would you like this free 10% off coupon for your next visit?”
But on the internet, we call them exit popups. And they can be very powerful if used effectively across your website.
So there’s 2 main types of lead converting Exit Popups:
1. Before You Go…Want My Free Gift?
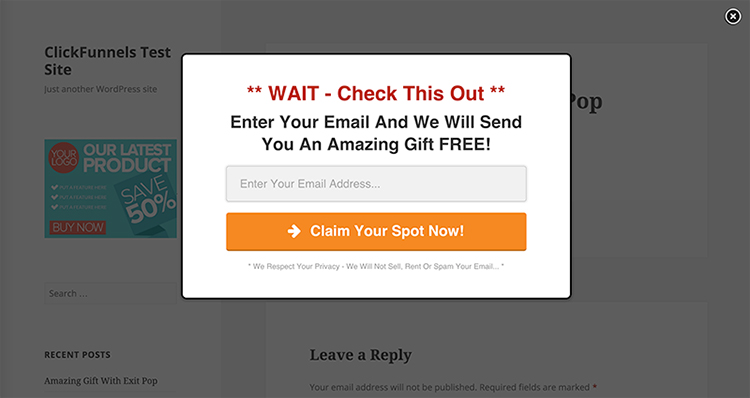
I’m sure you’ve seen this one before on a handful of blogs and maybe even found it annoying, am I right?
But the exit intent exit popup is a great driver of opt-ins if executed right.
And remember, these are people who you would’ve otherwise have lost into the abyss of the internet.
So what should you do with your free gift exit popup?
Keep it simple. I’d start with one of your best converting lead magnets and offer that straight up, or if you haven’t tested or used a lead magnet on your blog you can create a new one. If you’re creating a new one specific for the exit popup of your website, make it an overarching idea which people can take advantage of no matter which page on your website they come from.
So if your website is talking about nutrition or living room ideas, you could have something along the lines of “[FREE] Raw Food Shopping List Download”.
It’s really easy to build an exit popup in Clickfunnels using ClickPops – Mark goes into detail on how to do it and integrate it with your blog here.
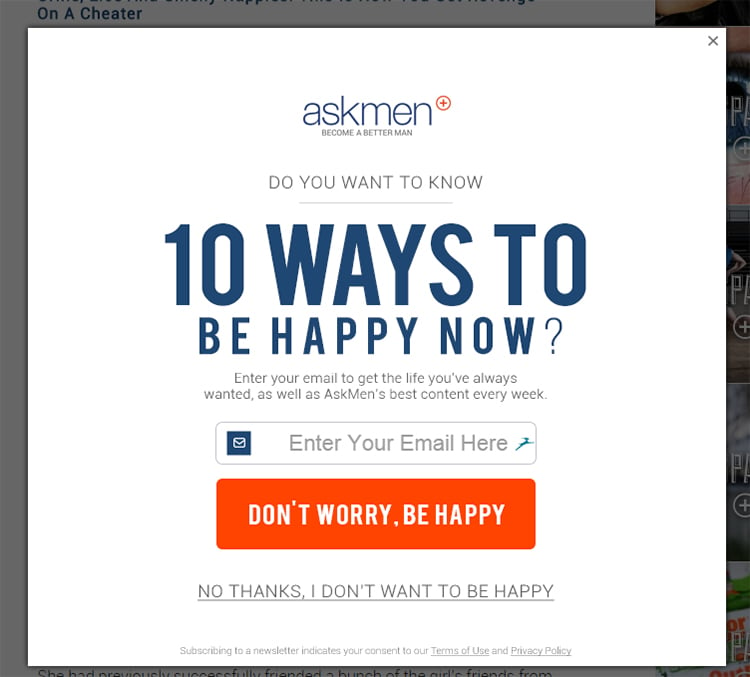
Here are some examples of exit pops I really which I’ve come across on the web and you can even #FunnelHack for ideas on your own blog:
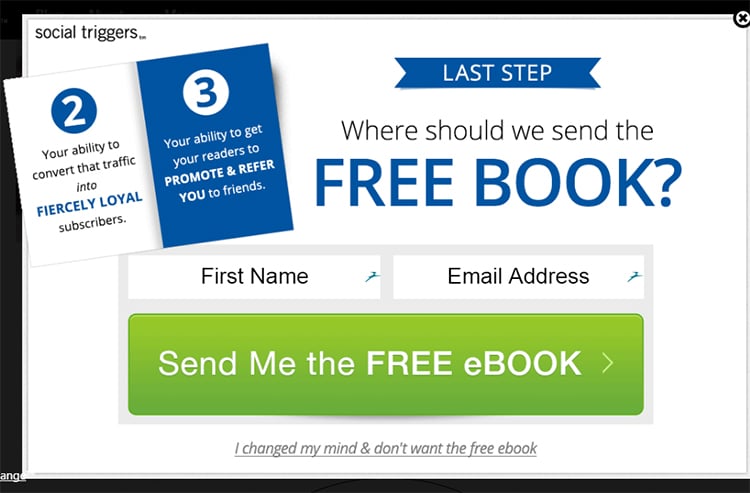
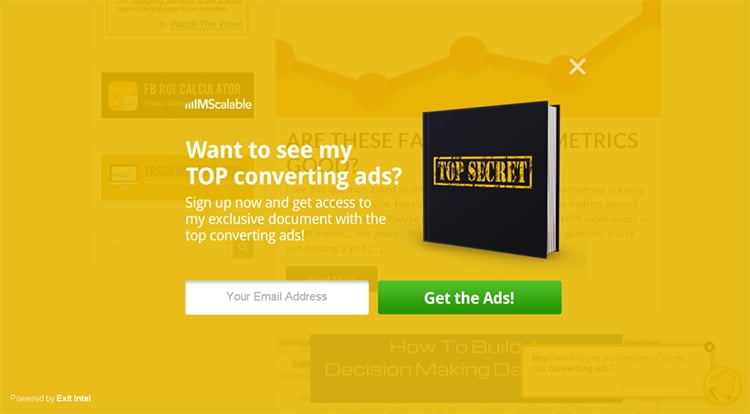
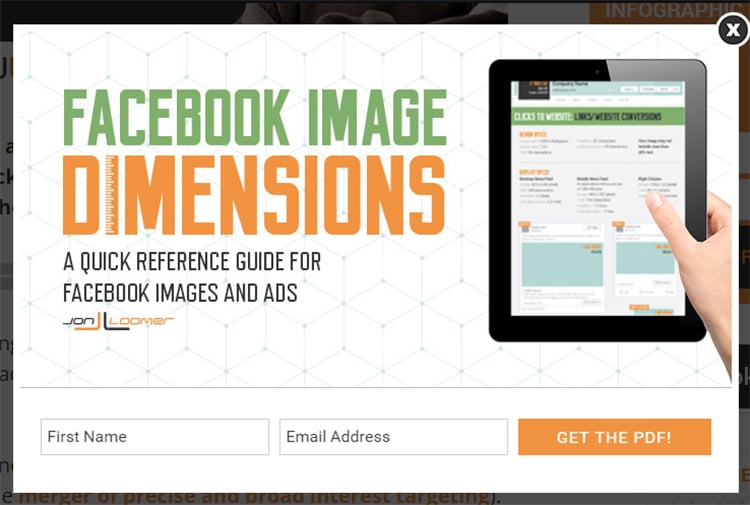
2. The 2-Step Optin Exit Popup
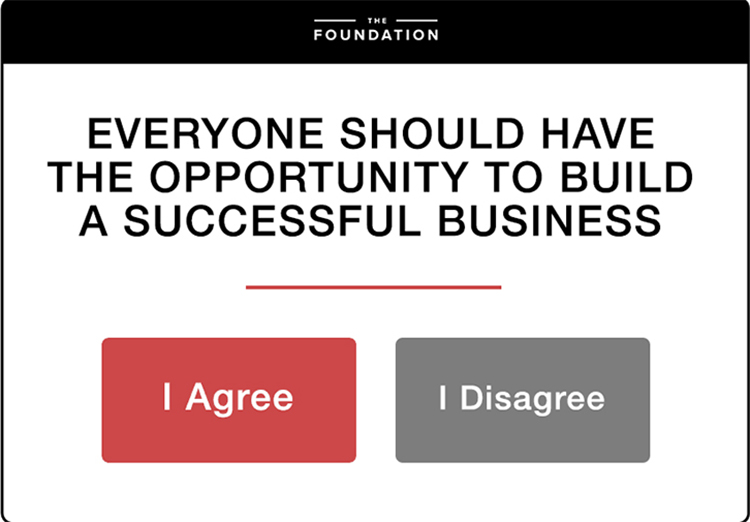
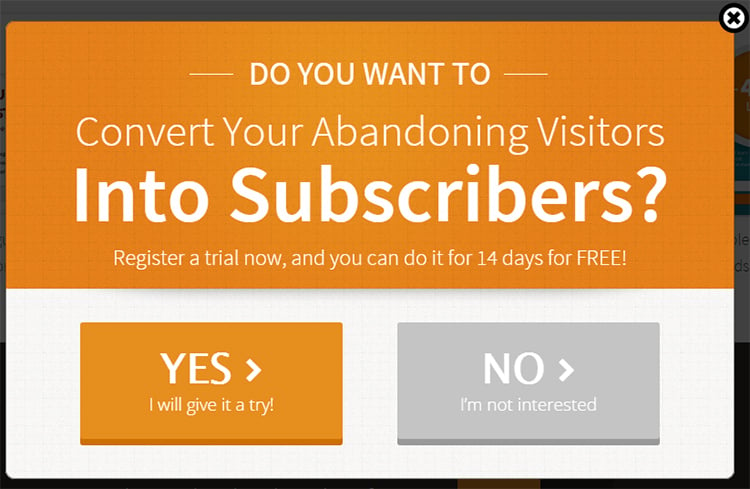
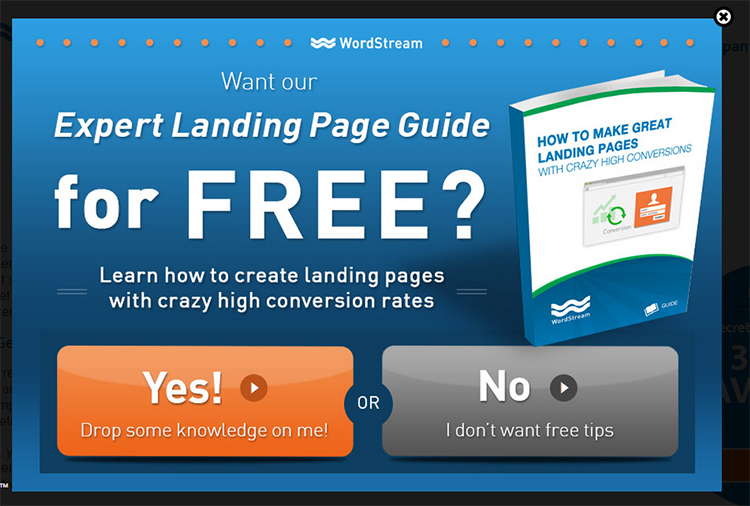
This exit pop is less of a commitment on a visitors behalf as they’re only presented with two buttons, not an optin box.
While the buttons may take them to a landing page with an email optin element, it’s far less intrusive upfront.
When using the 2-Step Optin Exit Popup, you can ask your visitors a question about what your blog is on.
So for example if I asked a question from an organic food website, it could be something like “Which type of food do you eat more of? X or X”
Then based on their response, you can take them to another piece of content or landing page to take the visitor deeper into your funnel.
Here’s a couple of 2-Step Optin Exit Popups examples too:

4. Having an A+ Retargeting & Follow Up Game
The last (and one of the most critical) ways to make sure that your blog is optimized is to have your retargeting game on point.
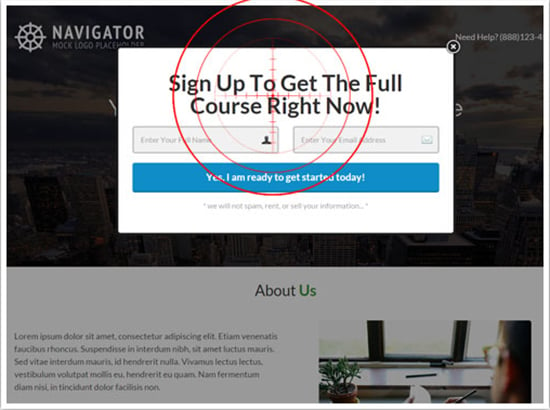
Depending on the type of business you have there’s a few different ways you can do this.
One of the most successful strategies I’ve seen is retargeting content upgrades as I mentioned above in the advanced area, but with the elements Clickfunnels offers that you can add to a page, you can do a lot more.
So let’s create an example of a mini content funnel and how we can maximise retargeting to our audience.
Mini Retargeting Example

The blog post we’ll use for this example will be called “3 Ways You Can Use The ‘Comfortable Close’ On Your Next Webinar”
Then we’ll go into our Facebook Audience Manager and create a retargeting pixel called “The Comfortable Close Sales Script LM”.

This is also the name of the lead magnet or content upgrade we’ve created which we want people to take next in our funnel.
We’ll set the retargeting audience to only show to people who have been to that post and only show them for 7 days after they have visited.
What we can do then is build a Facebook Ad to start driving our visitors to a video series which you can easily build in Clickfunnels using the video unlocker element – learn how here.
So now as people hit your website, they’ll go back and see the page which you offer a video series of value (which will require their email address).
This not only builds massive trust and rapport, but you can sell a low to medium level ticket product too (I’ve even seen some cases of products up to one to two thousand dollars been sold on a video series alone.)
If you want to take this content retargeting one step further, after the 7 days you show the initial ad, you can add in bonuses for the same offer…a free 10 minute personal Skype call for example. You can run the second offer for a further 14 days using retargeting for the specific post with your bonuses and then see how it performs in your market (each case is unique, so I suggest you test and optimize all your campaigns).
So lets do a quick recap of what we’ve done from both visitor and markter’s perspective.
Visitor’s Perspective
- Visitor visits your website and consumes your content but doesn’t take your content upgrade
- Visitor goes back to Facebook and see your retargeting ad in their newsfeed
- Visitor clicks ad to go to video series and gets taken to the landing page (Option 1 – They join the series within 7 days.)
- Visitor closes the page and doesn’t join the video series for the first 7 days of the retargeting campaign
- Visitor sees a new offer after 14 days from visiting the blog post with a 10 minute free Skype call if they join the video series (Option 2 – They join the series within 14 days)
Marketer’s Perspective
- Marketer creates a value packed blog post and associated content upgrade and publishes it to his blog
- Marketer sends paid traffic and receives organic traffic to blog post. Marketer has added 2 Facebook retargeting pixels to the specific post. The first retargeting pixel retargets the visitors to the blog post within 7 days of reading it, to a video series using the Clickfunnels video unlocker which will require the visitor to optin.
- The second pixel will do the same however retarget based on the following 14 after the first pixel has been served to the audience. This will make the offer more tempting by using a bonus and should increase optins.
Now don’t get me wrong.
This is pretty advanced material right here, but if you’re looking to build a blog up and drive some serious traffic for your company, this could add lots of zeros to your bottom line, especially if you’re getting 5,000+ visitors per month to your website already.
Regardless of your size, I’d advise you to make sure you AT LEAST install:
- Facebook Retargeting (All Website)
- Google Retargeting (All Website)
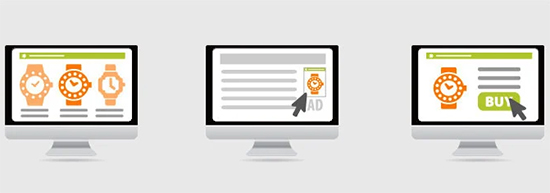
What I meant by ‘All Website’ is anyone who visits your site is added to your list no matter which page they arrive to first. That way if you ever decide to sell a product or service, you instantly have an audience who you can market to even at the most basic of retargeting levels who is interested in what you have to offer.
This also works really well if you want to cross-promote affiliate products.
It’s very easy to add retargeting pixels to your page using ClickFunnels!
How to Add Retargeting Pixels
Step 1: Prepare your retargeting pixel
Step 2: Log in to your ClickFunnels account
Step 3: Head on over to your funnel
Step 4: Click “Edit Page” on your page. This example shows how you can add retargeting to your Sales Page.

Step 5: Click Settings > Tracking Codes

Step 6: Enter your retargeting pixels and click Save.

Conclusion
So I’ve covered 4 lead generating mechanisms which every blog should have installed and be utilising to start building their list and generating revenue.
Lead generating using content marketing can be one of the most profitable marketing strategies if just a few simple steps are taken to setup your blog to capture leads. The issue which most blogs have is they don’t give their visitors an option to opt into their email list to begin with!
Which ways are you using on your website or blog to gather leads effectively? Let me know in the comments below.


Hey, first of all awesome tips here Stephen!
I´ve tested various ways to generate leads from my blog and the one I like the most and (converting best) right now is the Welcome Mat by SumoMe. Using a yes or no question 2 step optin.
I will definitely add a click pop that sticks to my sidebar.
Question: I have tested the click pop for a content upgrade with Clickfunnels. But I couldn´t find a way to disable the automatic exit pop that camed with it. Have you changed that option now?
Thanks
Jesper
Hey Jesper!
Thanks for your comment.
About your question at the end. You can open the popup inside of the Editor by clicking the button in the bottom left-hand side of the page that says “SHOW POP UP”.
After that, edit the popup settings by clicking on the gray/black button right underneath the popup itself. That will open a sidebar panel on the right-hand side.
After that, scroll all the way down and set the popup to open only on CLICK, and not on EXIT.
Screenshot: https://d.pr/i/1biFg
Hope that helps!
Respectfully,
Chris Moore
Thanks for helping chris.
I agree with you.
For the purpose of this post, I’m going to assume you’re using the content management system ‘WordPress‘ which is by far the most popular platform for blogging and websites across the web. If you’re using something else, the same strategies will work for you but you may have to play around with the technicalities.
The sidebar of your blog is one of the most powerful lead generation tools of your blog. It’s ability to connect with your visitors who are reading and consuming your content means you can use it in a number of different ways and get creative
Great post, really like the content upgrade one. I think you’ve explained a lot better than other posts I have read in the past. Thank you.
Yep content upgrade one works really well, good to hear its clear and makes sense.
Thanks for the contributions here on this blog Stephen! You’re really adding a ton of value and it’s much appreciated!!
Glad you like it Noah!
Hey Stephen, great content and advice.
One question that I can’t work out from a technical point of view. How do you create the second retargeting pixel so that it only presents the second batch of ads 14 days AFTER the first pixel has been served?
I can see the logic in doing this but can’t work out the how. To clarify this relates to ‘Marketer Perspective #3’.
Thanks in advance and keep up the great content.
Robert
Hey Robert,
Great question, so what you would do is need to use two pixels.
Once 7 days has passed, exclude people who have been ‘pixeled’ for 7 days and keep showing it to the other audience who are on the 14 day list.
Hopefully that makes sense 🙂
Very energetic post, I enjoyed that bit.
Will there be a part 2?
There might be! Leave a comment on the next post and I’ll be sure to have one ready 🙂
Thanks Stephen for a great post. My head is still spinning from all the information and possibilities. 🙂
You pointed out that many websites just set it and forget it, which I find to be a big turn-off. You suggested changing up the side bar offer every month or two.
I like keeping it fresh and encouraging visitors to return often. When I do this, do I need to have a new custom banner created for each update?
Yep you would – just get a new design done every month or so to freshen up the page. You can split test it against the old banner design too. I’d get a new offer & banner every 2-4 weeks to make sure I know what’s converting best.
Thanks Stephen for clarifying this.
Thanks as usual Stephen. Very informative and I plan on setting up my first content upgrade as well as using clickpop. The ideas are just flying around inside my head LOL. I am going to refer back to this post and the training links that you provided to put all this together. This should be fun. Thanks again Stephen.
Awesome article Stephen ! Thanks.
Do you have an article who explain HOW TO replace pop-up and exit pop-up done with Leadpages published on my WordPress since i did not find out how to do it for my wordpress with ClickFunnels ?
somewhere in the middle of the article there’s a sentence that’s not completed 🙂
“Clickfunnels has a….” https://uploads.disquscdn.com/images/0baced3c728f8ddd43e2142fe1100462296d6aa054bf0692733ebea574220c4a.png
i agree with you.
After that, scroll all the way down and set the popup to open only on CLICK, and not on EXIT.
Thanks for sharing these useful tips, Very nicely explained such a deep information.
Great stuff. Is it recommended to do your blog on WordPress and use cf code to do a sidebar with or are you using cf for the blog itself??
this post is so damn confusing, i spend 2 hours going back and forward, trying to implement them, nothing i did worked, and now im confused and exchusted. it would of been better instead of trying to explain like 5 differnet things, 5 different strategies, juts pick one of it and go really deep, so people can easily implement it. e.g. how to link up the your banner to the to the click pop up. or how to create a exit pop up and install it on wordpress, THE one thing
Awesome tips for generating leads. Never tried fixed sidebar for generating leads for my WordPress blog, but will give it a try for sure. Thank you Stephen.
How to join and be a part of your Company?
Hi, Great tips here.
One question I how do you add a FB Pixel code to the popup , for retargetting purposes?
thanks
Amazing information on lead generation! Really glad I’ve landed on your article.
Would you suggest applying the same techniques for a B2B lead generation as well?